mirror of
https://github.com/kou029w/chirimen-hands-on.git
synced 2025-01-18 16:08:13 +00:00
205 lines
4.8 KiB
Markdown
205 lines
4.8 KiB
Markdown
---
|
||
title: CHIRIMEN Raspberry Pi Zero W ハンズオン
|
||
marp: true
|
||
paginate: true
|
||
style: |
|
||
section :is(h1, h2, h3, h4, h5, h6) {
|
||
border-bottom: 10px solid #F5CE52;
|
||
}
|
||
---
|
||
|
||
# 2023-01-09
|
||
|
||
---
|
||
|
||

|
||
|
||
---
|
||
|
||
# CHIRIMEN Raspberry Pi Zero W ハンズオン
|
||
|
||
WebDINO Japan シニアエンジニア
|
||
[渡邉浩平](https://github.com/kou029w)
|
||

|
||
|
||
---
|
||
|
||
## CHIRIMEN とは
|
||
|
||

|
||
|
||
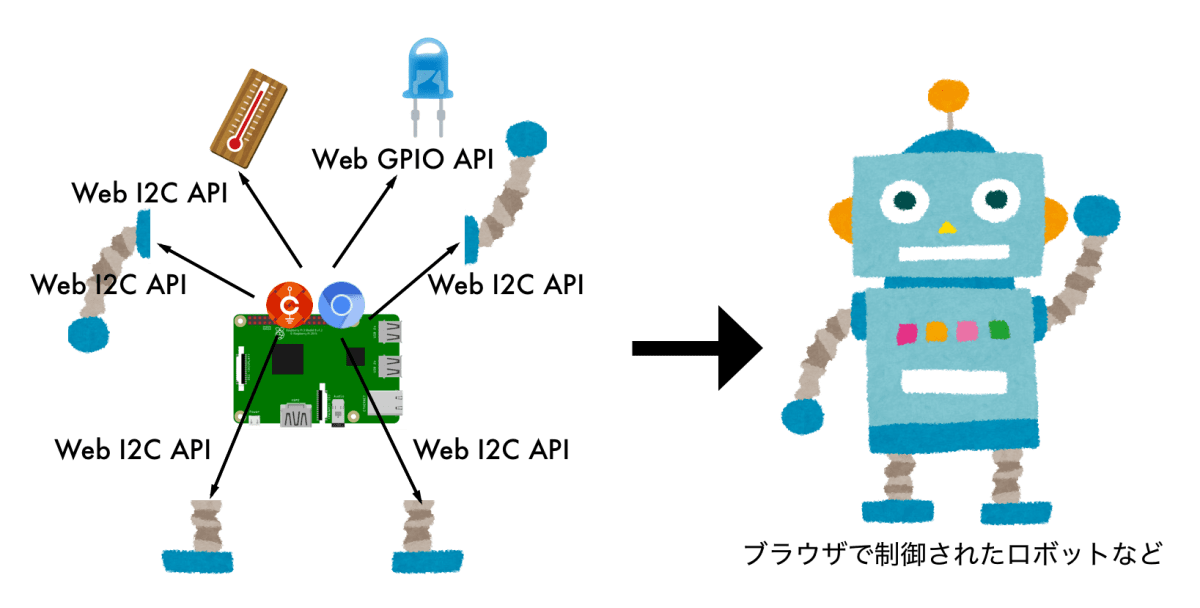
JavaScript からハードウェアを制御するプロトタイピング環境
|
||
センサーやモーターなど組み合わせたさまざまなものをつくることができます
|
||
|
||
<!-- NOTE: 10-20年前は難しいプログラミングが必要でしたが、今はJavaScriptから簡単に作れるようになりました。 -->
|
||
<!-- NOTE: 具体的にはWeb GPIO APIやWeb I2C APIと呼ばれるオープンな仕様に支えられているオープンソースソフトウェアです。 -->
|
||
|
||
---
|
||
|
||
## 作品例
|
||
|
||

|
||
|
||
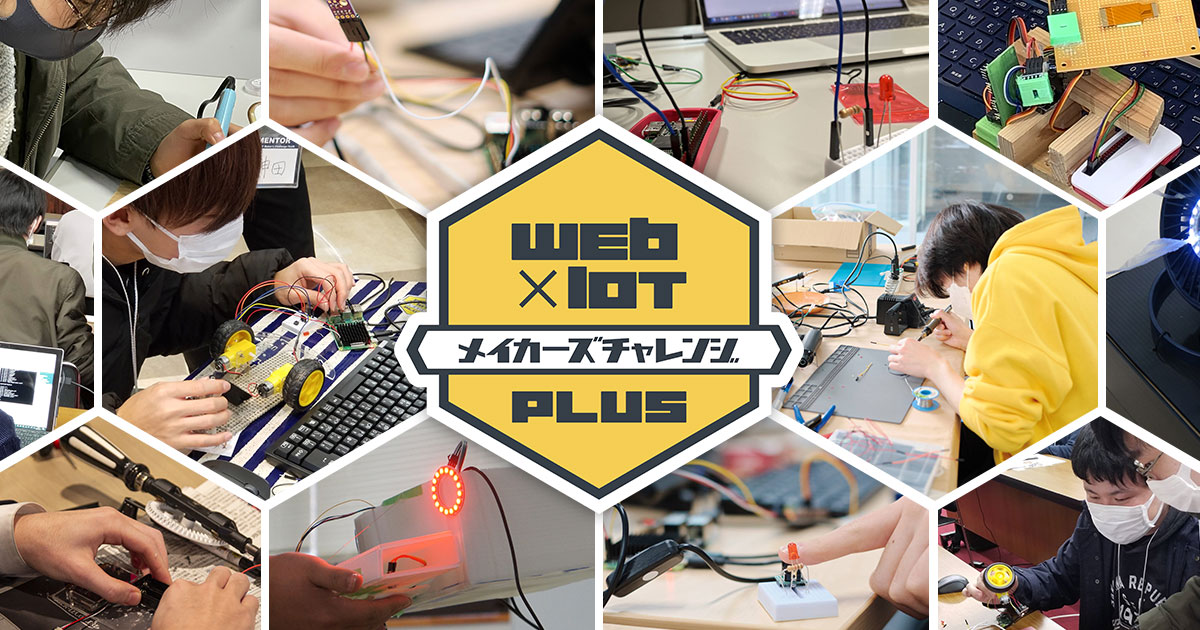
<!-- NOTE: CHIRIMENを使い、アイディアを凝らしてさまざまな作品を作っています。 -->
|
||
|
||
<!-- _footer: 画像の引用元: Web×IoT メイカーズチャレンジ 作品ギャラリー https://webiotmakers.github.io/gallery/ -->
|
||
|
||
---
|
||
|
||
## 本日の流れ
|
||
|
||
ハンズオン講習会
|
||
|
||
- 14:10-17:50
|
||
- L チカしてみよう
|
||
- GPIO に関する基礎知識
|
||
- I2C に関する基礎知識
|
||
- 遠隔制御してみよう
|
||
- 17:50-18:00 片付け
|
||
|
||
---
|
||
|
||
## 本日のゴール
|
||
|
||
センサーやモーターの基本的な使い方を理解する
|
||
|
||
---
|
||
|
||
## Slack にアクセス (まだの方)
|
||
|
||
[webiotmakerschallenge.slack.com](https://webiotmakerschallenge.slack.com)
|
||
|
||
---
|
||
|
||
## ハンズオン資料
|
||
|
||
[tutorial.chirimen.org/pizero](https://tutorial.chirimen.org/pizero/)
|
||
または
|
||
「chirimen pi zero」で検索
|
||
|
||
---
|
||
|
||
## 困ったとき・分からないとき・気になることがあるとき
|
||
|
||
会場のスタッフにお気軽にお声がけください 🖐
|
||
(Slack でも OK 👌)
|
||
|
||
---
|
||
|
||
## 機材の確認
|
||
|
||
必要なもの
|
||
|
||
- Raspberry Pi Zero W
|
||
- CHIRIMEN スターターキット
|
||
- microSD カード
|
||
- USB ケーブル
|
||
|
||
(必要なもの以外は片付けておきましょう)
|
||
|
||
<!-- _footer: https://tutorial.chirimen.org/pizero/#pcwifi -->
|
||
|
||
---
|
||
|
||
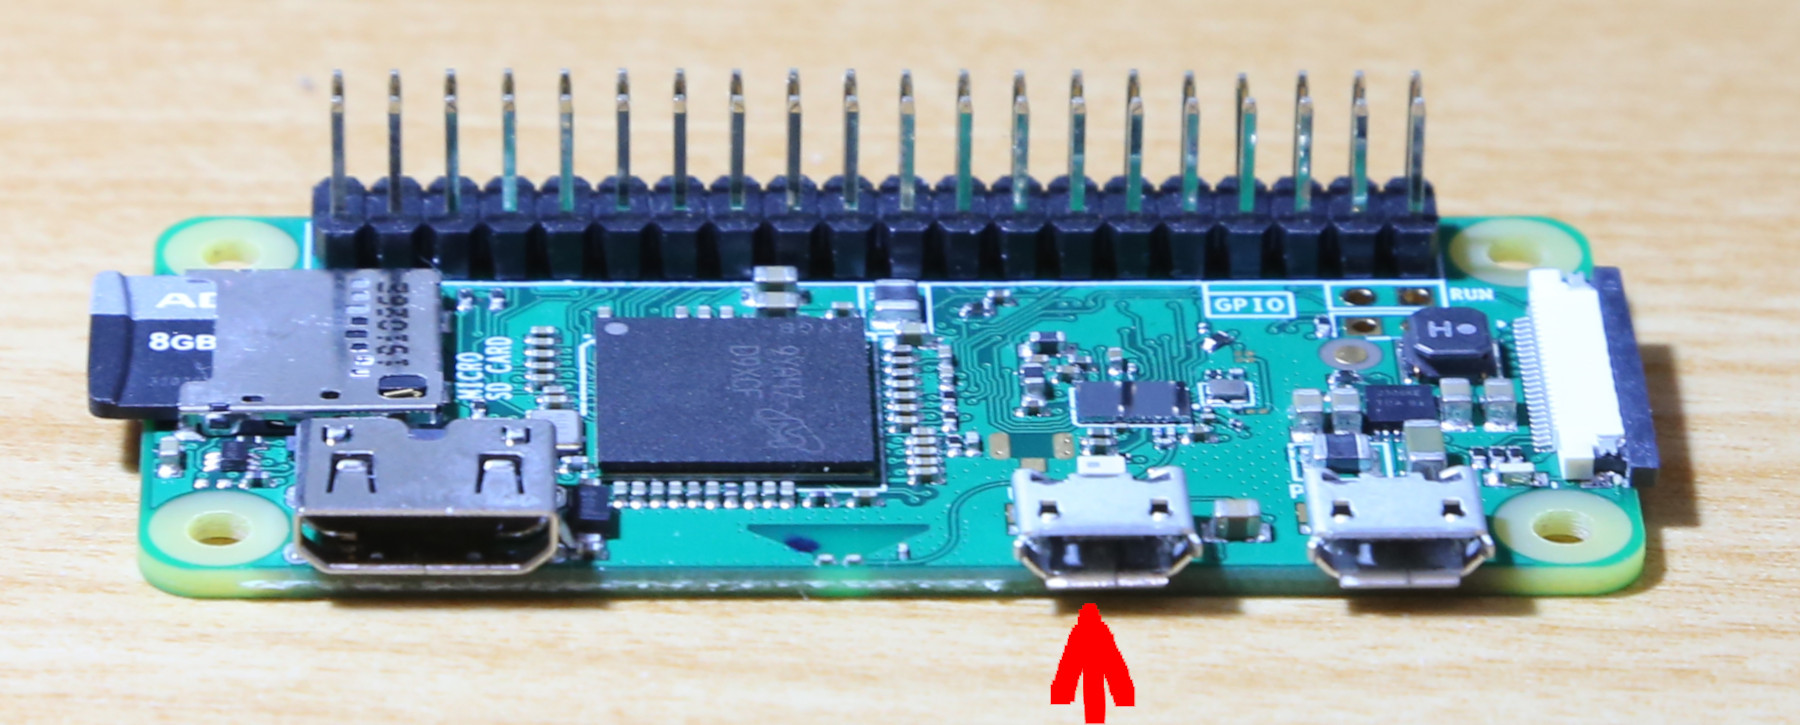
## Raspberry Pi Zero の起動
|
||
|
||

|
||
|
||
<!-- _footer: https://tutorial.chirimen.org/pizero/#a-hrefhttpschirimenorgpizerowebserialconsolepizerowebserialconsolehtmla- -->
|
||
|
||
---
|
||
|
||
## ターミナルに接続
|
||
|
||
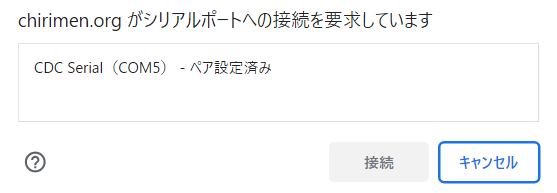
https://chirimen.org/PiZeroWebSerialConsole/PiZeroWebSerialConsole.html
|
||
|
||
↑ こちらにアクセス > Connect and Login PiZero > 接続
|
||
|
||

|
||
|
||
---
|
||
|
||
## Wi-Fi の設定
|
||
|
||
1. wifi panel > SSID、PASS PHRASE に接続情報を入力
|
||
2. SET WiFi
|
||
3. Reboot
|
||
|
||
(接続情報は会場で確認しましょう)
|
||
|
||
<!-- _footer: https://tutorial.chirimen.org/pizero/#wifi -->
|
||
|
||
---
|
||
|
||
## ブレッドボードでの配線
|
||
|
||

|
||
|
||
<!-- _footer: https://tutorial.chirimen.org/pizero/#section-3 -->
|
||
|
||
---
|
||
|
||
## サンプルコードの作成
|
||
|
||
"myApp" > 移動 > Create New Text > "hello.js"
|
||
|
||
```js
|
||
import { requestGPIOAccess } from "node-web-gpio"; // WebGPIO を使えるようにするためのライブラリをインポート
|
||
const sleep = (msec) => new Promise((resolve) => setTimeout(resolve, msec)); // sleep 関数を定義
|
||
|
||
async function blink() {
|
||
const gpioAccess = await requestGPIOAccess(); // GPIO を操作する
|
||
const port = gpioAccess.ports.get(26); // 26 番ポートを操作する
|
||
|
||
await port.export("out"); // ポートを出力モードに設定
|
||
|
||
// 無限ループ
|
||
for (;;) {
|
||
// 1秒間隔で LED が点滅します
|
||
await port.write(1); // LEDを点灯
|
||
await sleep(1000); // 1000 ms (1秒) 待機
|
||
await port.write(0); // LEDを消灯
|
||
await sleep(1000); // 1000 ms (1秒) 待機
|
||
}
|
||
}
|
||
|
||
blink();
|
||
```
|
||
|
||
または
|
||
|
||
CHIRIMEN panel > Get Examples > hello-real-world (L チカ) > JS GET
|
||
|
||
---
|
||
|
||
## サンプルコードの実行
|
||
|
||
実行コマンド
|
||
|
||
```sh
|
||
node hello.js
|
||
```
|
||
|
||
---
|
||
|
||
## ここまでのまとめ
|
||
|
||
- CHIRIMEN Raspberry Pi Zero W のセットアップ
|
||
- LED を制御するサンプルコード (通称 LED チカチカ、L チカ) の実行
|
||
|
||
---
|
||
|
||
---
|
||
|
||
## フィードバック
|
||
|
||
[このスライドを編集する](https://github.com/kou029w/chirimen-hands-on/edit/main/README.md) / [問題を報告する](https://github.com/kou029w/chirimen-hands-on/issues/new)
|
||
|
||
---
|
||
|
||
## 後付
|
||
|
||
過去の資料
|
||
|
||
- [2022 年度 岡山版](/chirimen-hands-on/2022/okayama/)
|
||
- [2022 年度 愛媛版](/chirimen-hands-on/2022/ehime/)
|